- New - A guide to making a Pistol/Gunslinger Build
- New - A guide to making a Melee Build
- New - Scav Magazine - All locations and details
- For New Players - Read the walkthrough.
- New - Open Season
- New - Power Play Quest
- New - Raider Outposts
- New - Nuka World Endings Guide - Options and Benefits
- The Grand Tour
- Faction Perks and New SPECIAL Ranks in Nuka World
- Gage (Companion)
Fallout 4 Automatron Quests
Getting Started in the DLC
First Quest: Mechanical Menace
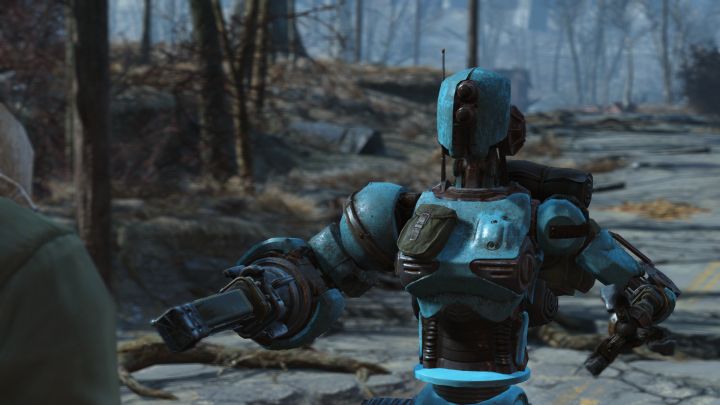 Ada is the new Robot Companion in the Fallout 4 Automatron DLC
Upon opening Fallout 4 with the Automatron DLC installed, or upon reaching level 15 with your character, players will receive a quest named 'Mechanical Menace', which can be initiated by listening to the Caravan Distress Frequency on the radio. This will give you a quest marker so that you can begin using the new content in Automatron.
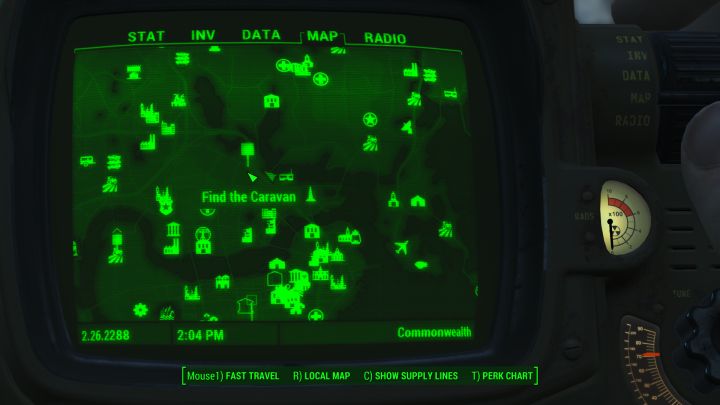 Rescue the Caravan here, then you'll be able to build your own Automatrons
This is necessary to be able to build your own Robots - Automatrons - as you will receive the schematic for completing this first quest. See here for a guide to robots. Everything else is entirely optional from this point, though you will find many schematics as you battle the Mechanist's creations so it's a good idea to follow the story and not just wander searching for rogue robots.
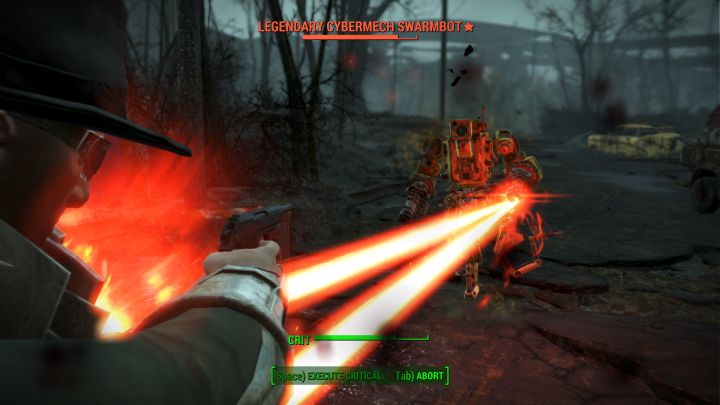 There are half a dozen robots attacking one lone survivor when you arrive. Heed the tips below and avoid any self-destruct sequences the robots engage upon death - primarily the more advanced types.
Come to the caravan's aid prepared for a tough fight. While the bots do not have an insane amount of defense, the number of them can be dangerous as it's fairly open terrain and they deliver high damage per second. For the larger robots, also avoid being close to them just after their death. Swarmbots are weak on their thrusters. This deals at least 2x damage and is better than a head shot. The other bots are more weak in the limbs. Don't bother shooting any which have an Assaultron head in that part, as they will take 1/3 damage just like a normal Assaultron. Certain types can self-destruct when defeated, and I was taken aback at how large the damage and area of effect of this is - it will kill you from quite a large distance unless you're heavily armored. Certainly seems larger than a mini-nuke explosion. I saw a streamer eat it a couple of times, then I did the same damned thing.
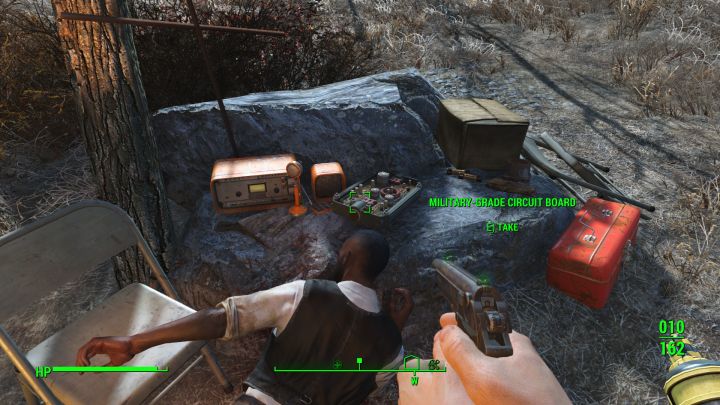 You'll want to upgrade Ada at the Robot Workbench. Plenty of good loot in the area, and the owners won't mind if you use it to help stop the Mechanist!
Once you've wrapped up the fight, there is a lot of loot in the area and you can speak to Ada, the sole survivor of the battle. Loot her friends' corpses, and you'll also find holotapes that explain some of what is going on.
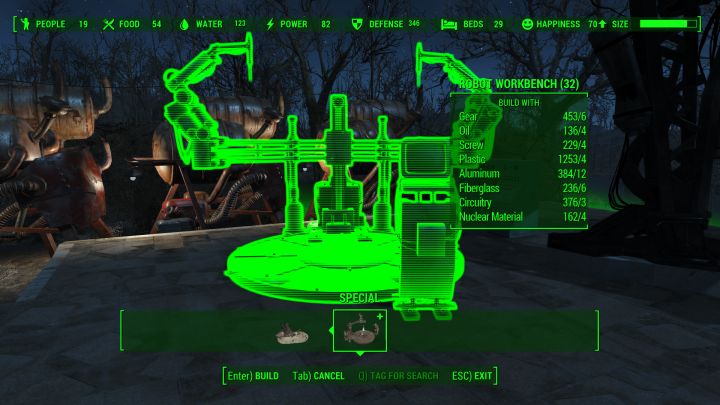 Where to find the new Robot Workbench for crafting: it's under the Special category, not crafting.
Building an Automatron
When you've done this, you should head back to your preferred Settlement to make a Robot Workbench, which takes quite a lot of materials. Find it under the Special category. Since you can now control Ada like any other follower, you may begin the process of upgrading her.
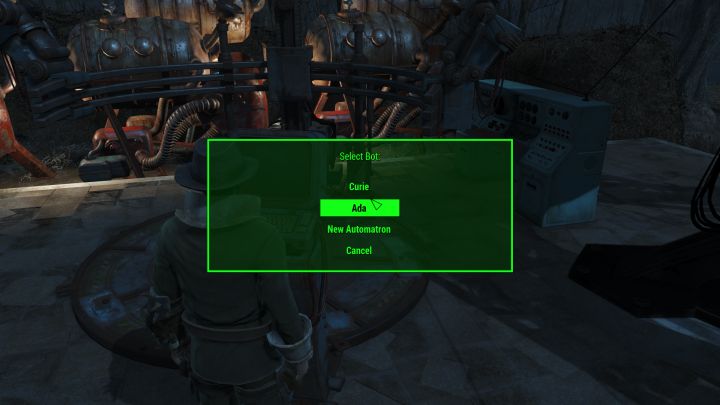 As you can see, Curie and Codsworth can be upgraded (though the former must still be a Nanny bot), and you can make your own Automatrons.
You can also upgrade Curie and Codsworth, though you may not want to do this unless you're sure - you will permanently change them. Curie's ineligible if you've already made her a Synth, as far as I am aware. You can also make an entirely new Automatron, but that will take more materials than simply upgrading Ada and she's required for certain things in this quest.
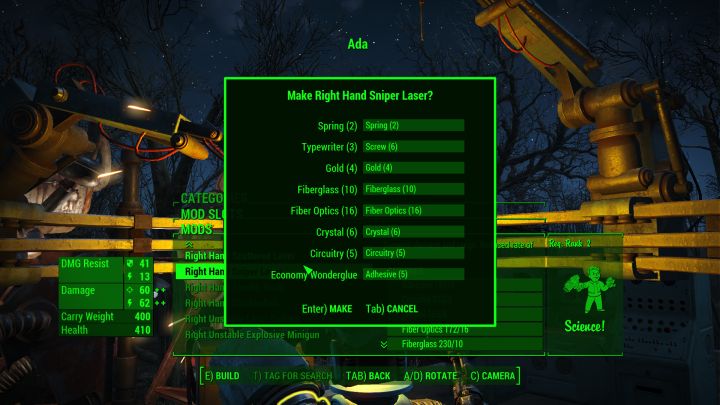 More advanced upgrades take a long list of materials. Ada can certainly use a better weapon, as well as some armor tweaks. Don't go overboard though, as you will soon have much better options.
There are actually some base upgrades that are better than what's available, depending on the levels of your Science! and other Perks. To the left you'll see all you need to know - carry capacity, damage resistances, and the amount of damage the selected weapon will deal. There are some really interesting combinations. The robot's left hand will be used up close and not very often, while the right is the primary weapon.
Second Quest: A New Threat
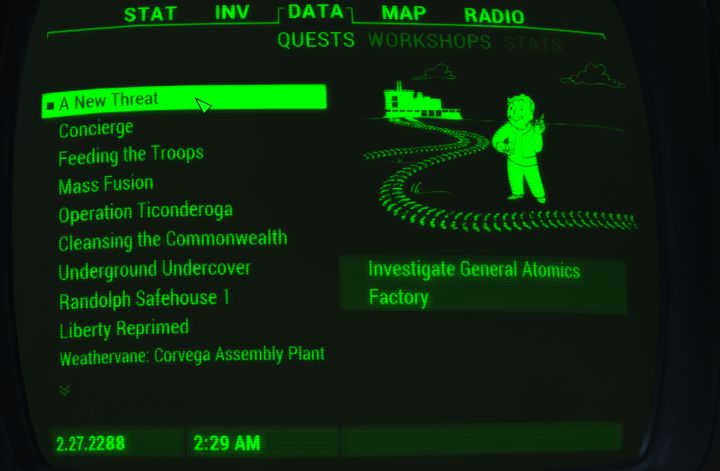 The 'A New Threat' Quest sends you to General Atomics Factory, west of The Castle. There's loads of great crafting materials inside, given it is a robot factory.
The second quest, 'A New Threat', sends you to the General Atomics Factory, which is to the west of The Castle, in order to learn more about the Mechanist. Come prepared for even more fighting than the caravan assault. This quest will offer you at least a half-dozen new parts that can be used at the Robot Workbench for crafting Automatrons of your own design. While the first robots you killed dropped nothing, these new bots will drop Mods that weigh only 0.5 like any weapon mod (and found under Inventory > Mods), and you'll gradually find new options for body parts/types. Once you have found one, you're permanently given access to that type of body part at the Robot Workbench.
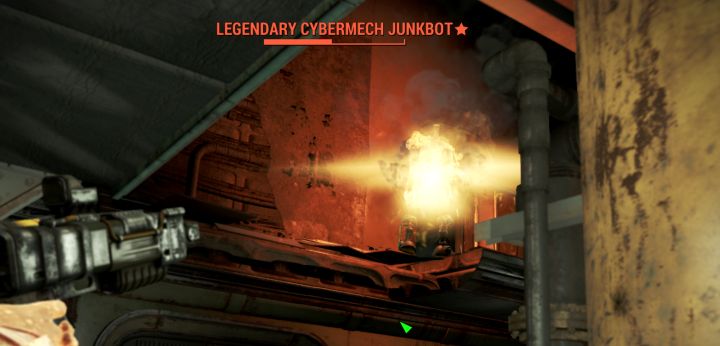
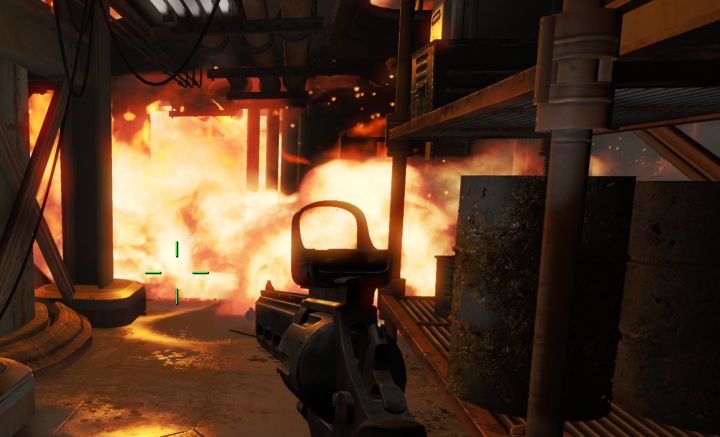 A Legendary bot initiates its self destruct sequence after having both arms blown off - it considers its last offensive move. The explosion of robots that do this is massive, larger than a mini-nuke.
Again, I emphasize how large the explosion is on the bigger robots' self-destruct. Avoid disabling both of its arms, as it will start the sequence before dead and rob you of some experience points. You'll need take out at least one Legendary variant. Hack a couple of novice-level terminals to get through the area, but in the first room do head upstairs as you are able to find a copy of Tesla Science on a desk, which increases energy weapon critical hit damage.
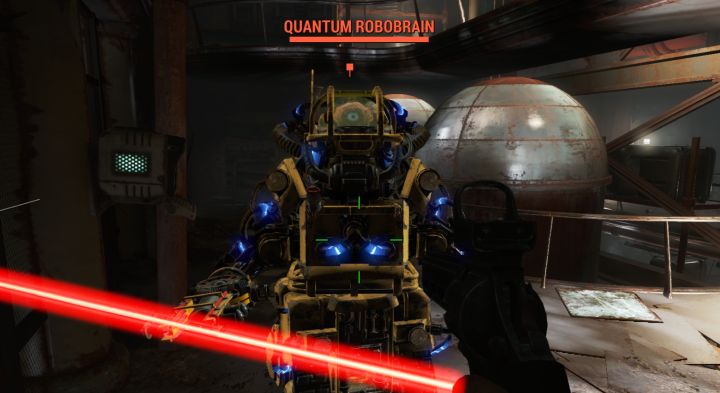
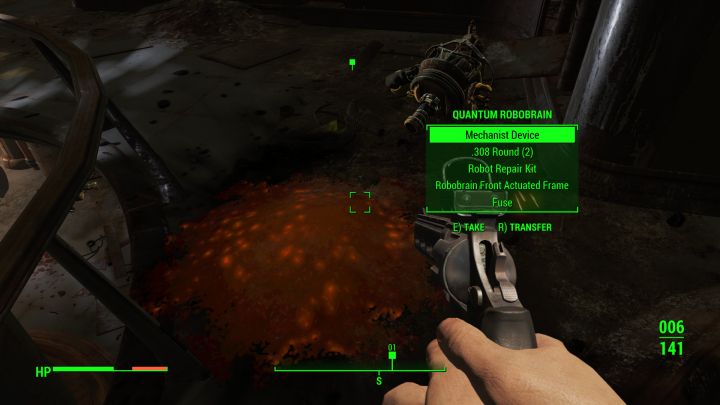 A Robobrain in Fallout 4. It drops a radar beacon that can be used to track more, getting your character on the Mechanist's trail.
At the end of the area, you'll encounter your (likely) first Robobrain in Fallout 4. It's a rather easy kill given its slow movement speed, though it has a massive self destruct as you can see above. Searching this Robobrain will give you some valuable parts, along with the Mechanist Device.
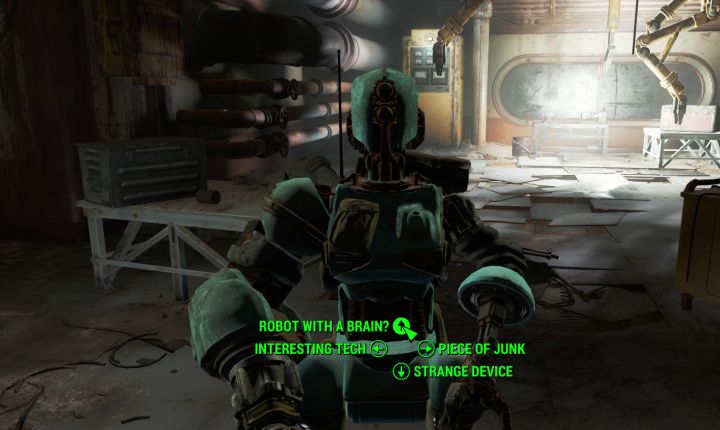
Return to your Robot Workbench, have a chat with Ada about the risks (required to proceed), and install it within her on the Special Slot that unlocks. This completes the quest, and allows Ada to track down more Robobrains. With this done, you've got a grasp on how some of the additions in Automatron work, and can continue with the Mechanist Quests. The next is covered here: Headhunting Walkthrough.
More Fallout 4 Guides
Share Tips and Strategies Below
- Raider Outposts in Nuka World
- Nuka World - Play as a Raider in this DLC
- Far Harbor - Learn about the DLC, its secrets, and read walkthroughs
- Automatron - Guides to building bots and quest walkthroughs
- Settlements - An in-depth guide to Settlements and managing them
- Melee Build - the best perks for a melee character
- Sneaking - Learn to be stealthy
- Critical Hits - Shots to Crit and Crit damage mechanics
- Tips for Making a Build - General advice for creating your own build
- Action Points - AP and all the things that affect it
- VATS - all about the V.A.T.S. and AP usage on weapons
- Gameplay Tips - pointers that will help new players
- Making a Sniper Rifle Weapon mod examples. Heavy hitter and fast-firing Comparison - two guns from the same base.
Share Tips and FAQs (1)
Join In